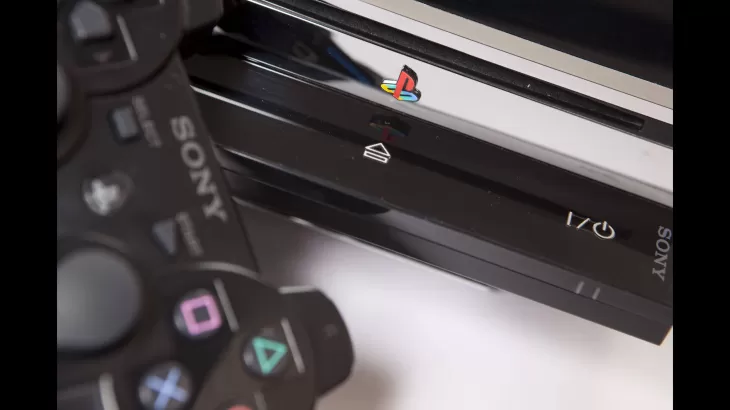
Step 1: Remove the drive of the PS3
There are different versions of the PS3 that differ slightly in their design. Under certain circumstances, smaller deviations from the following steps can therefore occur.
- Take the PS3 off the electricity and turn it on the head. Remove all protective caps on the underside and the screws below.
- Turn the console over again, the housing of the PS3 can simply be removed upwards . On the right side you can now see a metal cover. The drive is located here.
- Remove the three screws on the cover and then the two screws under the cover. Also remove all cables that lead to the drive.
- Now remove the drive from the PS3 and remove all screws on the back. The metallic cover can be easily opened upwards.
- Now you have reached the last level. Remove all the screws on the edge of the drive again and fold the black plastic cover away to the side. Attention: The cover always remains connected via a cable.
Step 2: Repair PS3 drive
If you have opened the drive of the PS3, you can now search for mistakes. First of all, you should get to the cleaning of the laser .
- Take a cotton swab and dip it into alcohol so that it doesnt drip. Wipe a few times over the lens and wipe the dry side once. The rest of the alcohol evaporates after a few seconds.
- However, the problem can also be in the mechanics. Since you have already opened the drive, a look is also worthwhile here. Carefully check all parts for their mobility and try to solve problems found.
- If all of this helps, a new drive needs to be found. You should contact a specialist or Sony directly .
You could also be interested in:


